


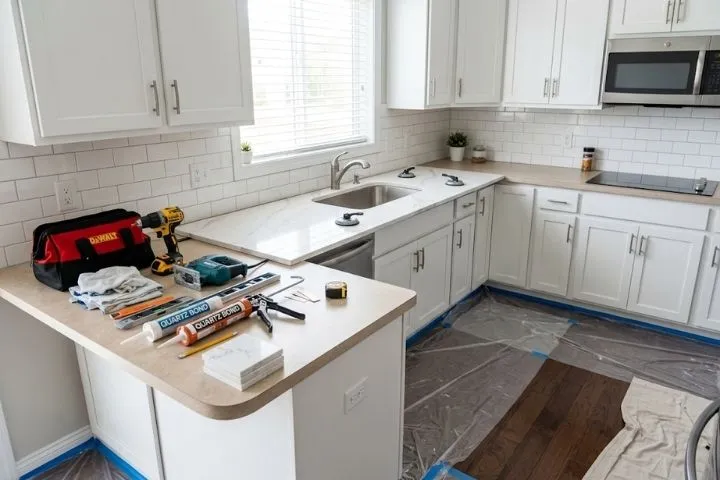
What to Expect During a One-Day Quartz Countertop Resurfacing Appointment
Installation morning begins with an unusually bare kitchen. The coffee maker has moved, the counters are empty, and a clear path now runs from the entry to the work area. During countertop resurfacing, that familiar workspace becomes the base for a thin engineered quartz surface without a traditional countertop tear-out.
A one-day appointment describes the installation window, not the consultation, measurements, material selection, and preparation completed beforehand. Project size, sink or fixture work, and conditions discovered on site may alter the exact sequence or timing. Knowing what belongs in the day helps you prepare the kitchen, follow the work, and understand when the surface can return to normal use.
A Short Appointment Still Has a Distinct Rhythm
Crews move through protection, surface preparation, fitting, finishing, and cleanup as separate parts of the visit. Some phases create obvious visual progress, while adjustments near walls, sinks, and seams may require quieter, detail-focused work. Understanding those shifts makes the appointment easier to follow from the first walkthrough to the final handoff.
Earlier Decisions Set the Scope for Countertop Resurfacing
Before anyone carries quartz into the house, the project team should already have the counter dimensions, sink and cooktop openings, wall conditions, exposed ends, and any included backsplash documented. The approved scope should identify the selected color and finish, edge treatment, and who will handle plumbing or appliance access. With those details recorded, the crew can focus on carrying out the agreed work.
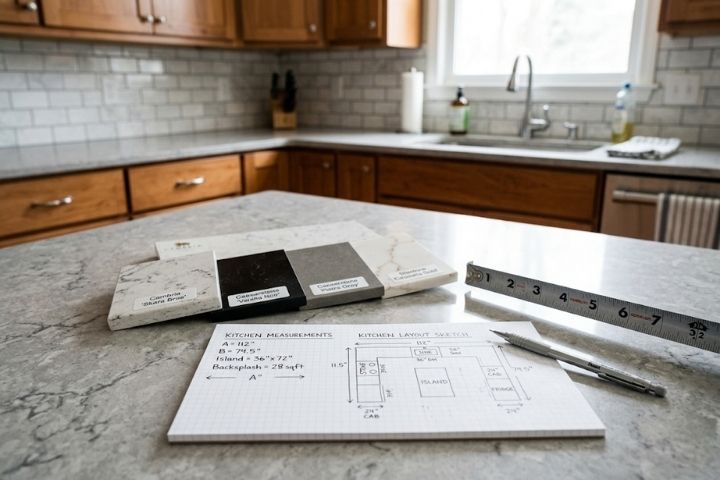
Countertop resurfacing also comes with project-specific logistics, including arrival access, the expected work window, and the period when the sink or prep area may be unavailable. Instructions from the team should take priority over a generic checklist because every layout and fixture setup differs. Those details help you plan around the installation window, including meals and remote work, while keeping children and pets away from active installation areas.
Installation Morning Goes Better With an Empty Work Zone
Installers need an unobstructed route from the agreed entrance to every counter included in the project. Small appliances, dishes, rugs, and decorative items can slow access or leave fragile belongings near tools and materials. Before countertop resurfacing begins, follow the company’s instructions for clearing these areas:
Move countertop appliances, dishes, décor, and fragile items to another room.
Empty the sink and any cabinet space identified for fixture access, then remove stools or rugs from the crew’s path.
Keep children and pets away while leaving the agreed entrance accessible.
Leave plumbing, gas, and hardwired electrical disconnections to the professionals assigned to the project unless the company provides different instructions. A brief access check at arrival can confirm which items belong in another room and which fixtures will stay in place.
Countertop Resurfacing Begins With the Surface You Will No Longer See
With the counters accessible, attention shifts to the surface that will remain underneath. Installers recheck its stability, contours, and areas around seams or openings because the new quartz relies on that base. During countertop resurfacing, the crew cleans and prepares the existing surface according to the installation system’s requirements.
The crew may complete minor corrections included in the approved scope, but loose sections, swelling, moisture damage, or instability can require additional work. New quartz cannot stabilize a failing base simply by covering it. If site conditions differ from the earlier assessment, the installer should explain how the finding affects the scope or timing before proceeding.
The Quartz Is Fitted Around the Kitchen That Already Exists
The crew brings in pieces prepared from earlier measurements and checks them against walls, corners, sink or cooktop openings, and exposed ends. Kitchen walls are rarely perfectly square, so small on-site adjustments help the material follow the room’s actual conditions. Countertop resurfacing preserves the existing layout, which means the fitting process responds to the cabinetry and fixtures already in place.
Installers may position sections temporarily to check wall contact, cutout placement, overhang depth, and pattern direction before securing them. They can address minor fit differences on site, while requests that relocate a sink or alter cabinetry belong to a broader project. Once every piece sits as planned, the appointment advances to bonding and finish work.
The Final Stretch Belongs to Seams, Edges, and Small Details
After checking the fit, installers secure each section using the method required by the resurfacing system. Countertop resurfacing can cover a broad area quickly, but joints and transitions still require focused handwork.
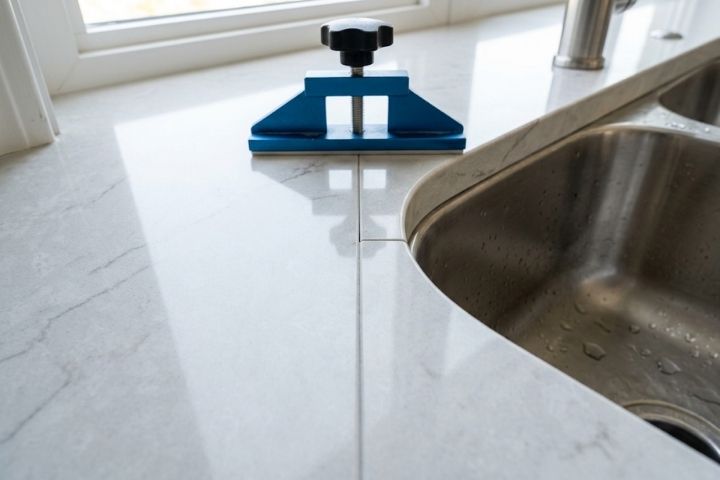
Where multiple sections meet, the crew aligns and finishes the joint according to the approved plan. The crew also checks edges, sink openings, and included backsplash transitions because those details remain visible in daily use.
When the finish work is complete, the crew removes protective coverings, tools, and project debris from the kitchen. During the walkthrough, you can inspect the surface and ask about seams, edges, fixtures, or any detail that remains unclear.
After Countertop Resurfacing, the Handoff Protects the Result
Every countertop resurfacing appointment needs a return-to-use plan covering the sink, small appliances, countertop items, and routine cleaning. A surface may look finished before adhesives, sealants, or connected fixtures are ready for normal use. Follow the installer’s project-specific timing and care instructions instead of assuming every part of the kitchen is available immediately.
Kitchen & Bathroom Transformations assesses the existing counters and outlines how a one-day appointment may unfold in a Northern California kitchen. That guidance covers the required preparation, included fixture work, and expected timing for full use. Before you plan around a one-day timeline, verify with the team whether the existing surface, fixture scope, and return-to-use requirements fit that schedule.


